CSGO Callouts Dust 2 Guide
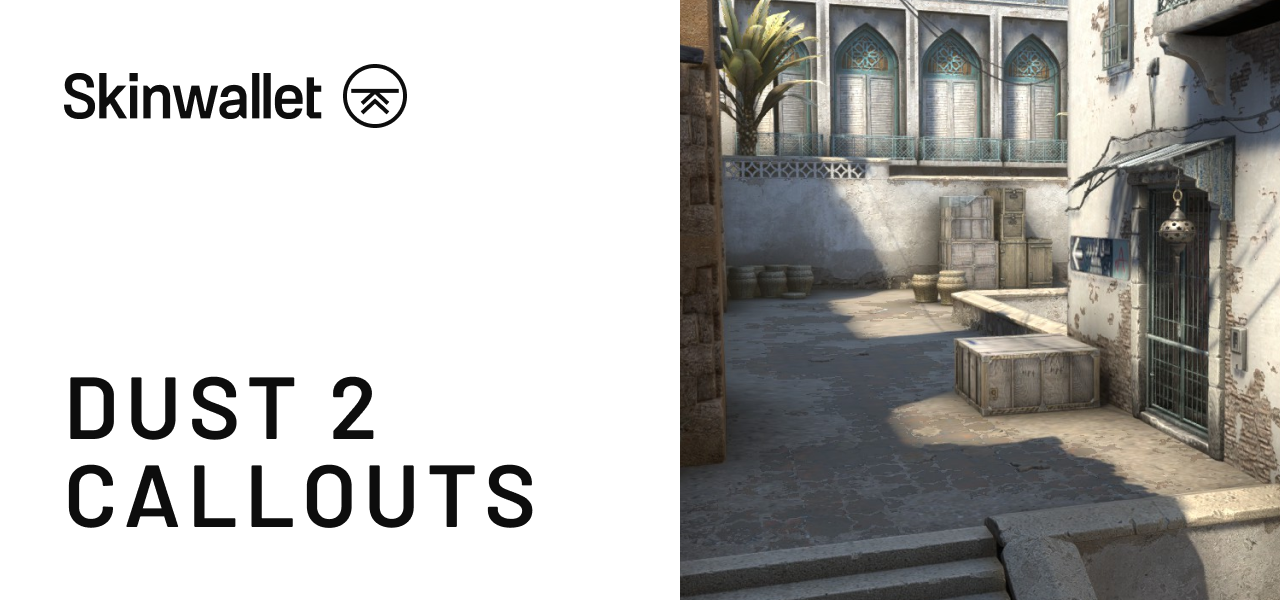
It’s hard to deny the classics. Let’s examine CSGO callouts Dust 2 players use to get around this evergreen skirmish map!
If you ever played Counter-Strike: Global Offensive (and you didn’t just jump the Danger Zone train a couple of years back), it’s basically 99,8% sure you played at least one match on Dust 2. Formerly born as de_dust_2 for the first iterations of Counter-Strike, still as an HL mod and not a standalone game, this hallmark map has been around long enough to imprint itself heavily in the consciousness of online gamers. Its design and subsequent refinement has become a wireframe for a balanced competitive map layout.
The various callouts for Dust 2 were in use along the years, but we can say there is a definite list of terms you need to learn to communicate with your teammates, and it has been presented on Global Offensive subreddit years ago (edited for sensitive content):
Jokes aside, this is the danger of not having a basic knowledge of the map and its topography. Split-second decisions can be perfectly informed by the right callout, especially on Dust 2, which is a relatively tight map that requires good spatial control. Let’s analyse CSGO Dust 2 callouts, divided into focal points on the map. We’ll also interchange T and CT perspectives, so get ready to double-check with the map – this below provided by the almighty TotalCSGO.com.
Dust 2 Callouts – A Site
When heading to A site from T spawn, you first go through the Long Doors, which is a tunnel on the far right of the map guarded by a wooden gate. Over-eagerly CT rush can push you back right here, or you might need to rotate to mid. Blue is the container that is right outside the doors and helps you hide from a potential onslaught. On the right, you have the Pit, with a Side Pit closer to the Long Door and a Pit Plat (or Pit Platform) for a wider angle on the A Long, which is the clear road leading straight into the mouth of CT spawn.
Stalling on a Long Corner can be both beneficial and dangerous. A Car helps you hide from CT spawn, but not from A Plat. A Cross is the hot point between those. A Ramp leads you up to Barrels and A Default Plant on the closest end of A Plat. Behind Barrels you can stay put on Goose to watch A Long or peak at A Short, which leads back to Mid. When approaching the A Platform from the CT spawn and trying to avoid exposition on A ramp, if you have a teammate handy, you might choose Elevator for direct approach on the plant site or Short Boost to cut the distance to Mid. Ninja is a deadly spot on A Plat if you manage to slip through Short and don’t get pinned on Short Stairs.
Dust 2 Callouts – B Site
Again, coming from T Spawn up for convenience, first you get a spacey T Plat (or T Platform) with T Ramp leading down from it to Outside Tunnels – these might mean both close to T Plat or at the entrance of Tunnels. However, due to map mechanics barely ever any clutch situations take place here, so there’s no need for more detailed callouts. Outside leads to Upper B Tunnels, the threshold before a B site attack. You can however use Lower B Tunnels to cut short to Mid. Leaving tunnels toward the site you get to Close (or Close Left), which is just next to the Fence, the far left end of the map, but still in the tunnel.
You can quickly steer right to B Closet or hide behind B Car, but hopefully not for long. B Plat (or B Platform) is just next to the B plant area, and seems redundant at first, but can make for a dangerous hiding spot, especially with Back Plat. Big Box is in the middle of the site and can grant safety during a hot shootout, just like Double Stack, which is within planting range.
B Default Plant is next to the wall between B Doors leading to an upper mid part of the map. Sometimes you might need to hide at B Back Site. B Window is the hole in the wall just above the default plant that can be accessed from the side of CT Spawn next to the Scaffolding (Scaffold for short). B Boxes provide a safe stop or a flank when shooting through the B doors.
Dust 2 Callouts – Mid
This time, coming down from CT Spawn, we get a CT Mid which is famous for CT deaths in the first 10 seconds of the round. Mid Doors provide both a passage to the main Mid and a see-through all down to T Spawn, which is sometimes a subject to a sniper match. Close Mid Doors is a niche in the wall next to the doors that gives some leverage while trying to combat closely.
Xbox is the container that tights the mid ramp between Lower Tunnels and the bottom part of A Short. Palm is a legacy name for the place with an electric pole, so it’s sometimes also called Pole. Right Side Mid is a closed gate within a niche that helps you hide from direct fire in Mid. Top Mid is the end of the mid ramp that branches to both Suicide (a small T Spawn tunnel that didn’t get its name from just anywhere) and Outside Long, which is mostly for circulating back to A Site through Long Doors or generally falling back. The Catwalk is a high passage next to the Palm/Pole that leads you straight to A Short.
How To Learn Dust 2 Map Callouts?
While most of the skills in CS:GO are pretty much practiced by repetition and refinement, first clinically on your own and then by going into deep water and trying your best in online play. However, callouts is something that is hard to practice with bots. However, this is not hopeless.
Various Dust 2 maps of callouts are available online and for those who learn easier by visuals these might just be the thing. Seeing the outline of the map and identifying different places on a flat surface can help one to organize the names without being overwhelmed by them while going through the space itself. For example, I myself found it easier to memorise the difference between Close, Fence, and Car once I saw it from the upside, because the situations during the matches were too intense for me to tell the difference.
If you have some playing buddy with enough patience to give you a guided tour and answer yes and no questions, this will probably do the best for your learning of CSGO callouts. Log in to a map, max out the time limit, run around and find out. The upside of this solution is that you get to see everything as it looks in the game, visit every spot, and try to see how it works against others. Meanwhile, someone can give you a course on the exact names, which you can memorise without the rush of the game.
Afterwards, with some confidence gained from either studying the callout maps or learning on spot, you can go online and put the knowledge into practice. And here’s the thing – if you don’t have a high rank in competitive play (and if you don’t know your callouts you probably don’t), many people don’t know the callouts, so will neither understand them nor use them. Even though Dust 2 is probably the most famous CSGO map, there will be players oblivious to its most staple locations. That’s why you need to brace yourself with patience. This will pay off in time!
To Round Up Dust 2 Callout Map
This is all pretty much straightforward – there are the callouts you need to learn and there’s plenty material out there to help you with it. Still, there are two footnote tips I can add.
Remember that some of the callouts will be not given in full if the caller knows your position and suspects you know your whats and wheres. While there are two cars on this map – A Car and B Car – and it’s important to know the difference between them, if you’re near A site and need direct info, you will probably receive a Car call. Also, places like Short on this map are unique for the A site, so will more often be called Short than A Short.
A lot of the descriptive callouts will be localized to other languages, so keep that in mind if you don’t always play in English. Close or Car will have their Polish, Russian, Brazilian and other counterparts. If you play with different languages, try to memorize all the variants.
Any additional tips? Want more articles like this? Let our creative team know! Thank you for sticking with Skinwallet, till next time!


 (3 votes, average: 3.67 out of 5)